It's nice. I like it. Not sure it will brew beer any better, but it looks cool. It should be easy to clean. I like having a valve to take samples. It is sturdier than my plastic fermentors. It's an upgrade to what I have now.
Actually, the reason I got this particular fermentor is that I was thinking about ways of temperature control (especially for lagers) without taking up space in a refrigerator or freezer.
I thought that I could probably set something up like the pond pump / ice / wort chiller I've been using lately to cool the wort down before I rack to the fermentor. I figured some stainless steel tubing with a pond pump and the same sort of temperature controllers that lots of home-brewers use to convert their fridges into fermentation chambers would be fairly easy to make.
Then, while investigating stainless steel tubing on the interwebs, I came across the Anvil Carboy Cooling System.
Exactly what I was thinking of assembling in one pre-made package ... less expensive than it was looking like I could buy the various parts for.
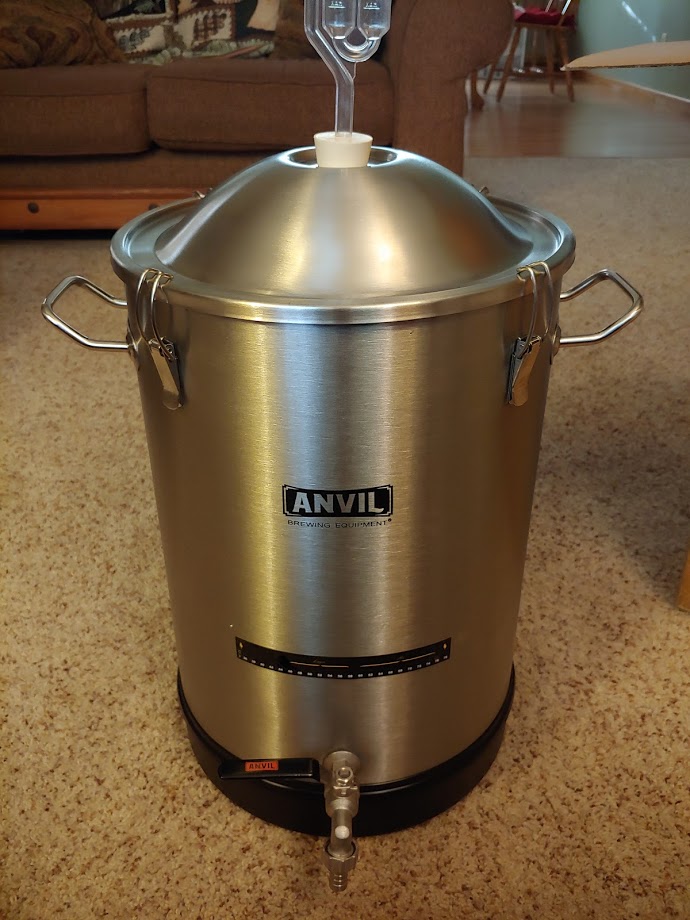
The Carboy Cooling System lead me to the Anvil Cooling System for Bucket Fermenter. And ... this required the Anvil Stainless Bucket Fermenter.

The Cooling System includes:
- Stainless Steel Cooling Coil.
- 12" Stainless Steel Thermowell.
- 4 Hole #7 Stopper.
- Submersible Pump - 12V DC Max Head - 16 ft.
- (2) 5 ft Vinyl Cooling Hose.
- Insulated Fermentor Jacket.
- Anvil Temperature Controller
The Insulated Fermentor Jacket goes around the fermentor to insulate the vessel.
The Stainless Steel coil and the Thermowell go into the fermentor through the 4 Hole #7 Stopper.
The vinyl cooling hoses connect to the cooling coil. One connects to the submersible pump on the other end and the other feeds back water in a loop.
The pump goes into ice water. It is plugged into the Temperature Controller, which has a probe that goes into the Thermowell.
When the temperature reading from the probe is over the set point on the controller, electricity runs to the pump, which causes the ice water to run into the the vinyl tubing and then into the stainless steel tubing.
The freezing water running through the tubing which is in the beer removes heat from the closed system.
Simple thermodynamics. The fermenting beer theoretically should be able to be cooled to just above the temperature of the almost freezing water (as long as the ice lasts).
I'm making beer, so 50 degrees is about as low as I would need to go.

I had won some money in a weight loss challenge. I figured that a great way to spend some of that money was getting beer-making equipment.
I decided to go ahead and buy the fermentor and cooling system.
And ... as you know ... I tried it out for the first time when I brewed the Schreck Gartenzwerg Pilsner.
It works great ... as long as the ice lasts. I got the temperature down to 48 fairly quickly.
I did notice that before fermentation began, my Tilt hydrometer would read several degrees higher than the temperature controller. It appears that this is because the cooling tubes are localized down the center of the fermentor. The themowell (and therefore the Anvil temperature probe) is very close to those tubes.
Once the active fermentation started, the difference between the Anvil and the Tilt was much closer ... within one degree. My obvious assumption is that with the yeasties moving the liquid around, the cooling affect could distribute more evenly.
Simple thermodynamics.
So ... it worked great while the ice lasted. Unfortunately, the ice didn't last very long. I had to add ice about once a day to keep the temperature in the low to mid 50's. I kept the fermentation temperature in that range longer than I ever did with my old method, so I'm ok with how it turned out ... but I would like to improve the efficiency of the system.
One improvement I think I'll try is to have a way to feed the tubes out of the cooler ... i.e. ... drill holes to feed tubes and power cord through.
If I do that, I can close the top of the cooler, which should help hold the ice colder, which will allow it to last longer. Not sure how much longer. We'll have to see.
I have another idea on how to improve the system, but I'll wait to try that until I test my first idea.
More on that whenever I do "Part 2". Keep an eye on Sheppy's Blog: Anvil.
Keep an eye out for SheppyBrew's next lager.
As always ... look for updates on the regular SheppyBrew Channels to see what is happening with beer and other things: SheppyBrew's Facebook Page; Sheppy's Twitter Feed;SheppyBrew's Instagram Page; and SheppyBrew's Website. Of course, don't forget to visit this blog often as well!
Go Bears!
No comments:
Post a Comment